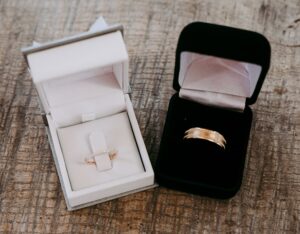
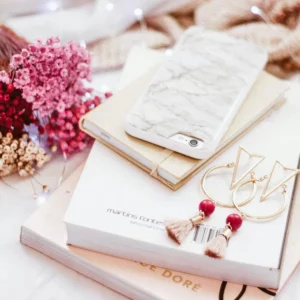
Jewellery photography is one of the most challenging types of photography, it can be for several reasons, due to how time-consuming both within production and post-production. This article will discuss some of the common issues faced when photographing jewellery from a professional perspective and how you can fix them.
Fingerprints and Debris on Jewellery

High-quality photography picks up everything, even specs of dust invisible to the naked eye. Which can often make it impossible to ensure that there are no specks of dust or fingerprints until after you have taken the shot, and then it takes up precious time during the editing process to remove these specs of dust.
One of the best ways to avoid having fingerprints and dust issues is to wear gloves whilst handling jewellery pieces and polish them well before shooting. However, this will not always completely fix the problem, and often there will be post-production needed to remove some dust, but it shouldn’t be as time-consuming.
Camera reflections
Due to the reflective nature of stones and metals, it can be tough to avoid reflections when photographing jewellery pieces. Reflections can be caused by harsh lighting or objects behind the camera, like the camera itself or its surroundings.
You’llYou’ll need to experiment with removing reflections like adjusting the angle or using pieces of cards to block areas like the room behind the camera. If harsh lighting is your issue, you might want to look into purchasing a lightbox to soften your lighting as well as post-editing processes.
Difficult stones
Some jewellery stones can be very problematic in terms of how they catch the light when photographing them. For example, iridescent stones like opal or labradorite; photos can often wash out the stones and remove that stunning prismatic quality.
Another problem can be surrounding block colour transparent stones like sapphires and emeralds. Lighting can wash these stones out and, as a result, dull their beautiful colours. The best way to avoid these issues is to photograph the stone and the metal part of the jewellery in two separate exposures and then combine them in the editing process. Although this can be time-consuming, it does produce the best results.
Jewellery Positioning

Positioning is everything when getting the best quality photos of your jewellery. Consistency is critical if you sell multiple variations of the same product. It’sIt’s essential you stick with an angle or position with all of your images.
Necklaces can often be challenging to photograph due to their easily manipulated. It can be because the v of chain that holds the pendant can be too broad or not even, which can make photos appear slanted and look unprofessional. To fix this, you’ll want to check your photos as you take them carefully so you can double-check that the shape of the chain is consistent throughout.
Another issue can be with rings; often, you’ll want to photograph them upright to ensure you see all parts of the piece of jewellery so every unique selling point can be seen. However, holding rings upright can be tricky as anything used to prop the piece up will need to be edited out of the shot and appear as if it was never there.
To fix this issue, you need to use something substantial as invisible as possible. We suggest using beeswax or blue-tac to hold your pieces up, which can be edited out if necessary.
Another method is to photograph the piece at a different angle. You can then adjust it using photoshop to appear upright once you add a white background.
Overall, jewellery photography can be challenging, so evaluating your options is always best. Sometimes the time it takes to teach yourself jewellery photography and solve some of the problems can cost you precious company time. You may even need to weigh up the costs of purchasing equipment too. Check through other professional photography studio websites for inspiration.
Check out more of our jewellery photography blogs here.

Leave a Reply